Tin Can Planters

Tin Can Planters
The Art of Upcycling: Transforming Tin Cans into Stylish Planters
Do you have a collection of tin cans lying around and wondering what to do with them? Look no further! Upcycling tin cans into planters is a fun and eco-friendly DIY project that allows you to add a touch of greenery to your space while reducing waste. Let's explore how you can transform humble tin cans into stylish planters that will breathe new life into your home.
Materials You'll Need:
- Empty tin cans of various sizes
- Acrylic paint or spray paint
- Paintbrushes
- Drill or hammer and nail
- Potting soil
- Plants or seeds
- Decorative elements (optional)
Step-by-Step Guide:
1. Prepare Your Tin Cans
Start by cleaning the tin cans thoroughly and removing any labels. Ensure there are no sharp edges that could cause injury.
2. Paint Your Tin Cans
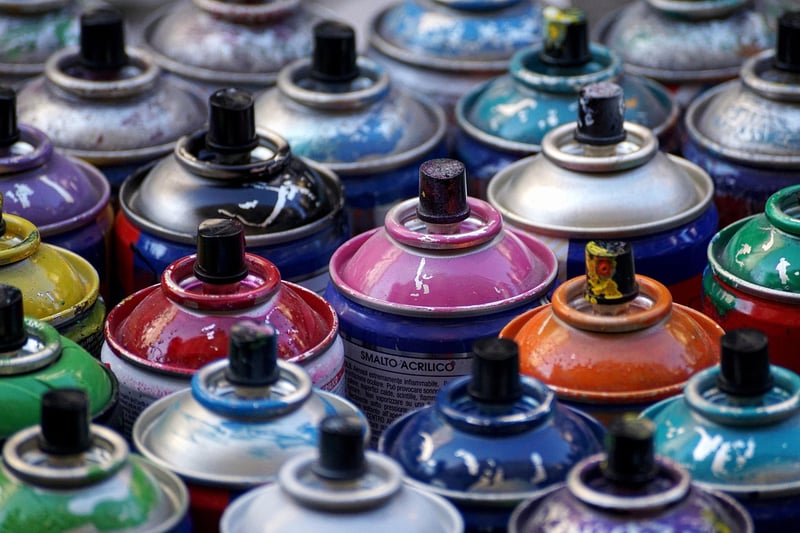
Get creative with colors and patterns! Use acrylic paint or spray paint to decorate the tin cans to your liking. Let them dry completely before moving on to the next step.
3. Create Drainage Holes
To ensure proper drainage for your plants, use a drill or a hammer and nail to create small holes at the bottom of the tin cans.
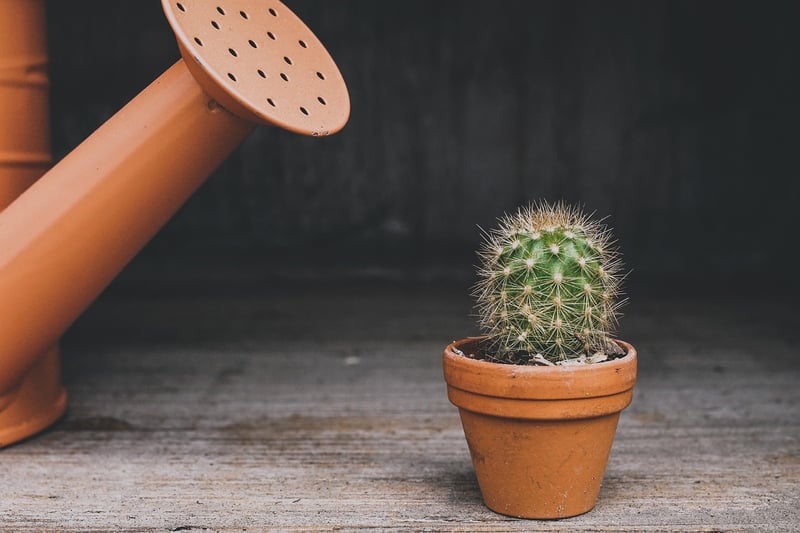
4. Plant Your Greenery
Fill the tin cans with potting soil and plant your favorite herbs, flowers, or succulents. Be sure to choose plants that suit the size of the tin cans.
5. Add Personal Touches
Enhance the look of your tin can planters by adding decorative elements such as ribbons, twine, or labels. Get creative and make each planter unique!
Benefits of Tin Can Planters:
- Cost-effective way to repurpose materials
- Customizable to match your home decor
- Perfect for small spaces like balconies or windowsills
- Environmentally friendly alternative to traditional planters
Get started on your tin can planter project today and enjoy bringing a touch of greenery into your living space in a sustainable and stylish way!